Wednesday, April 25, 2007

Oatmeal Cookies


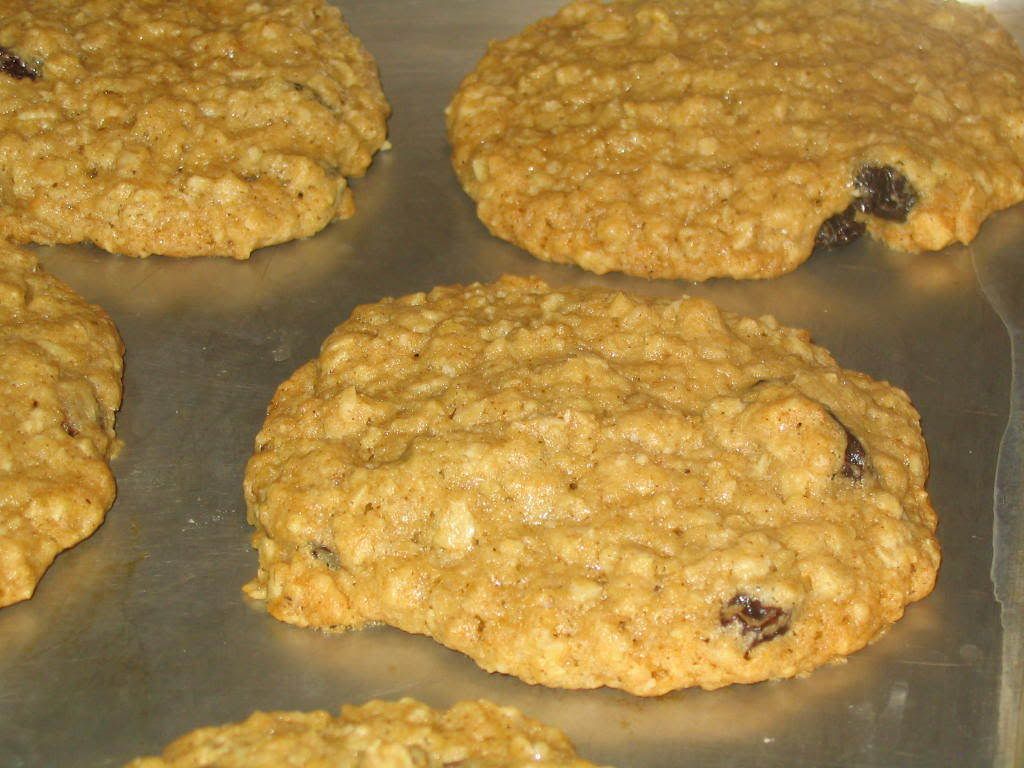
I LOVE Subway's oatmeal cookies. Have you ever tried them? They are awesome--get one next time you eat lunch there (but don't look at how many calories they have; it's better to stay in the dark, trust me). I love them so much that I even tried to find the recipe on the internet but no luck. I did hear in my travels that the recipe on the bottom of the lid of the Quaker oat box was pretty hard to beat, so I decided to try it. It's really good, and I'm only sorry I didn't make them sooner (ignore the fact that this is not a very good picture because they really tasted good). I made half the batch with rasins, and the other half with chocolate chips. I was afraid the chips might not go with the cinnamon that is in the recipe and that I'd have to cut it out next time if I wanted chocolate chips, but it was fine--both versions tasted great. However, I now know why the Subway cookies are so bad for you--the recipe calls for two sticks of butter. I'm thinking of trying it next time with 1 stick of butter and the rest applesauce to see what happens.

Oatmeal Rasin Cookies
1 C (2 sticks) margarine or butter, softened
1 C firmly packed brown sugar
1/2 C granulated sugar
2 eggs
1 tsp. vanilla
1 1/2 C all purpose flour
1 tsp. baking soda
1 tsp. cinnamon
1/2 tsp. salt (optional) (**I put in a little less than 1/2 tsp.**)
3 C Quaker Oates (quick or old fashioned, uncooked)
1 C rasins (or semi-sweet chocolate chips)

1. Heat oven to 350 degrees
2. Beat together margarine and sugars until creamy
3. Add eggs and vanilla; beat well
4. Add combined flour, baking soda, cinnamon and salt; mix well
5. Stir in oats and rasins (or chips); mix well
6. Drop by rounded tablespoonfuls onto ungreased cookie sheet
7. Bake 10-12 minutes or until golden brown
8. Cool 1 minute on cookie sheet; remove to wire rack (**don't forget this step or the cookie will totally fall apart on you**)

Yields about 4 dozen

Wednesday, April 18, 2007

Corn Bread


I should have been born a southerner because I love corn bread. All these years I've made my 'home made' corn bread by dumping a box of Jiffy mix into a bowl and adding milk and an egg. When I found this recipe for corn bread and discovered it's only a bit more work than opening a box, I turned my back on Jiffy forever (but we can still be friends, 'kay?)


Here is my modified version of this corn bread recipe. I cut out some of the sugar and used unsweetened applesauce instead of oil which worked great--neither my husband or I could tell the difference.


Corn Bread

1 C all-purpose flour
1 C yellow cornmeal
1/3 C sugar
1/2 tsp. salt
3 1/2 tsp. baking powder
1 egg
1 C milk
1/3 C unsweetened apple sauce

Preheat oven to 400 degrees. Spray or grease a 9 inch round cake pan

In a large bowl combine all dry ingredients; stir in egg, milk and applesauce until well combined. Pour into pan and bake 20-25 minutes or until a toothpick comes out clean.

Thursday, April 12, 2007

Happy Spring Cake


I made a cake for our Easter company that I like to think of as a "happy spring cake." It is decorated with all sorts of brightly colored gumpaste flowers (guaranteed to give your toddler hyperactivity and cavities) and a lovely basket weave design to make it look, well, like a basket.

You see, we are in desperate need of these little reminders of spring because in these parts spring is very late. Way past fashionably late, we are left wondering if it's going to come at all. We had snow yesterday--snow!--and everyone is cold, grumpy and miserable. However, a super sugary sweet concoction always helps to make things a little better. Especially if it has chocolate in it.

So, last weekend I decided to drag out my cake decorating supplies and how to books. I had never made any flowers with royal icing (only took the basic decorating class) but I figured I'd give it a try because they would look pretty on top of a cake.

Well, they do look pretty, but they are a huge pain in the ass to make. The good part is that once you make about a billion gumpaste flowers, they dry hard like candy and will keep a long time as long as they are kept in an airtight container.


This entire process (making numerous batches of two different kinds of icing, the cake, the flowers) ended up being an all day affair; of course, I had estimated it to be a 2 hour our so job. Luckily my husband understands that from time to time, I will get involved in these huge creative projects that always take about 4x's more time and effort than I estimate ("I should have this done in an hour!") and dirty every bowl and utensil in the kitchen (have I mentioned I cook, he cleans?)

He also had the task of trying to distract my son when he repeated the word "cake" over and over for about 20 minutes straight ("cake.cake.cake.cake.cake.cake") in an effort to convince me to give him cake for dinner. He is a very patient man, my husband. However, he also gets to reap the rewards of the finished product, so it's not all bad.

If you're interested in learning a few basic techniques of cake decorating, sign up for a Wilton Cake Decorating I class at Hobby Lobby. It's only 4 or 5 classes and if you hit it right, you can often take the class for 1/2 off if they're running a special.

Tuesday, April 10, 2007

Thai Beef Curry in Peanut Sauce


If I didn't happen to live in the middle of nowhere, I never would have attempted to make my own Thai food. I mean, why bother if you live near even ONE good Thai place? It's much more fun to eat it out in my opinion. But since the nearest Thai restaurant is an hour away I figured I had nothing to lose.

At first glance this recipe might seem too complicated due to some of the exotic ingredients, but once you buy them you are good to go for many meals. It is actually quite easy to put together (I slice the meat up ahead of time so all I have to do is throw it in the pot) and if you own a rice maker, it's really a breeze. Even though it calls for beef I think you could easily substitute any meat, seafood or tofu, since the star of this dish is the curry sauce.

I have made this recipe twice now; once with fresh lemon grass stalks I bought at an Asian grocery, and once with lemon grass paste I bought at Hy Vee supermarket. I couldn't tell the difference personally, and since the lemon grass in the tube will stay good for a while I think that's what I'll stick with.


Thai Beef Curry in Peanut Sauce

Serves four to six

2 1/2 C coconut milk
3T Thai red curry paste
3T Thai fish sauce
2T light brown sugar
2 lemon grass stalks, bruised (or 1 tsp lemon grass paste)
3/4 C ground roasted peanuts
2 fresh red chillies, sliced (I omitted)
5 kaffir lime leaves, torn (I omitted and instead served with a lime wedge)
1lb rump (round) steak cut into thin strips
2 salted duck eggs cut into wedges for garnish (obviously omitted this too)
6-10 sprigs of Thai basil leaves for garnish (I used regular basil)

1. Pour half the coconut milk into a large, heavy pan. Place over a medium heat and bring to a boil, stirring constantly until the milk separates.

2. Stir in the red curry paste and cook for 2-3 minutes until the mixture is fragrant and thoroughly blended. Add the fish sauce, sugar and bruised lemon grass stalks. Mix well

3. Continue to cook until the color deepens. Gradually add the remaining coconut milk, stirring constantly. Bring back to the boil.

4. Add the beef and peanuts. Cook, stirring constantly, for 8-10 minutes, or until most of the liquid has evaporated. Add the chillies and lime leaves. Season to taste (I never add salt or pepper and it tastes fine since the fish sauce is salty). Serve garnished with wedges of salted duck eggs and Thai basil leaves over rice.

Thursday, April 5, 2007

Asparagus and Dill Frittata


Frittata! Doesn't that word just scream out for an exclamation point?

You know the phenomenon when you have never heard of a particular word, phrase, person, and then you hear it once and it seems to be everywhere you go for the next few days/weeks? Well, I had that experience with frittata. I had never heard of a frittata (call me unenlightened) and didn't know what it was until I saw a cooking show featuring a fritatta last week. I then in very rapid succession came across frittata recipes on the internet, t.v., etc. Everywhere I looked, there was the frittata staring back at me. Very strange. When I found a recipe for mini asparagus frittatas I decided to transpose it to a regular frittata and make it for dinner last friday. It's the perfect meal for a lent friday since you can put anything you want in it, much like an omlette, and since I *heart* asparagus, I had to try it. Since it is a cheap, fast and easy meal, I look forward to experimenting with all kinds of frittatas.


Asparagus and Dill Frittata
1/2 C ricotta
1/2 C feta (since feta is salty, I did not add any extra salt)
1 T fresh dill, minced
1 T fresh chives, minced
5 eggs
2 egg whites
1/2 onion sliced in very thin strips
1/2 bunch asparagus cut into 1 inch pieces (or more if you really like asparagus)
1 T butter
splash of olive oil

Tip: Before cutting the asparagus, hold the spear in the middle and on the tail end and gently bend the spear. It will snap off the toughest part of the end of the spear which you want to discard.

Place a nonstick oven proof skillet on medium heat and melt the butter with the olive oil. Add the asparagus and onions and saute until onions are browned and somewhat caramelized. Whisk the eggs together in a bowl. Dump the cheese, dill and chives into the pan with the asparagus and onions, and immediately dump the beaten eggs on top. Stir with a rubber spatula like you would scrambled eggs until eggs start to set. Let the eggs cook undisturbed until all but the top is cooked (it should look runny and wobbly). Turn on the broiler; place the skillet in the oven and broil 3 minutes or until the top is set and golden brown.

If you are eating this as a one dish meal, it will serve 2-4. Two if you are me and my husband...oink oink.